

Enroll Android (AOSP) Devices In Intune
- Anand P
- Jun 22, 2022
- 4 min read

Updated: Feb 2, 2023
Intune will now allow you to manage devices running the Android open-source project (AOSP), which is still in public preview. These kinds of devices are mostly used by the front-line workers in an enterprise world organization need an easy way to enable workers to safely use collaboration and productivity apps like teams, while protecting company data that is shared when performing critical workflows.
In this blog I will be using RealWear HMT-1 device, RealWear is the first android (ASOP) device which Endpoint Manager for corporate AOSP management supports.
Today, the Endpoint manager supports two types of enrollment
Android Enterprise: Personally-owned devices with a work profile, corporate-owned devices with a work profile, fully managed devices, and dedicated devices, that require the device reliably connect to GMS services.
Device Administration: Starting with Android 10, Google is gradually decreasing the management functions associated with the Device Administrator mode. This limits the ability of administrators to manage the devices as device manufacturers (OEMs) develop new capabilities.
With Android (AOSP) we can manage the devices that do not have access to Google Mobile Services (GMS) – such as the Google Play store and devices running Android 10 can be managed by Endpoint Manager.
Since this is a preview feature, the current release of the feature includes
Device provisioning via QR code for user-affiliated devices and shared/multi-user devices
Device configuration
Device compliance and conditional access
I'm using a RealWear HMT-1 device with Android 10 and firmware version 12 here
Step1: Navigate to Intune Portal Link Select Devices -> tap on Android this will take you to the next page.

Step 2: Select Android Enrollment, in my case I am enrolling this as a Corporate Owned User less device (preview)

AOSP management offers the flexibility of provisioning a device to be assigned to a single user (or user-associated) or to be provisioned as a shared device for the organization to deploy to a set of users who share the same location and devices. As a result, the cost of owning an endpoint may be reduced. In addition, the devices can be provisioned for single-use, providing workers with the flexibility to effectively accomplish their specific tasks when required and organizations the option to securely manage the devices.
Step 4: Tap on Create profile to create a new profile to enroll the device

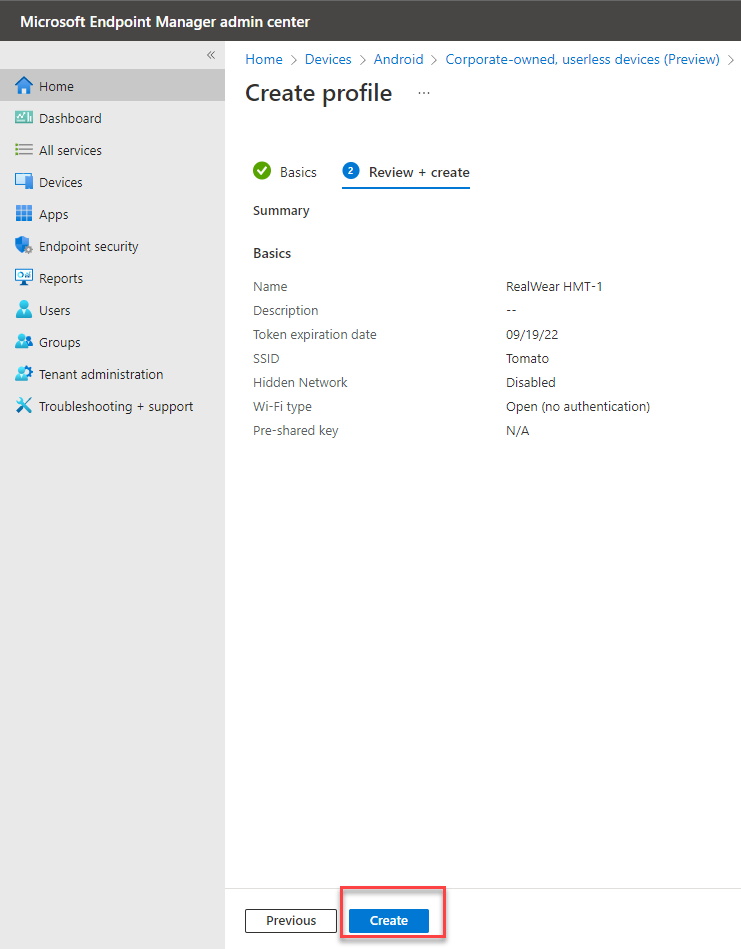
Step 5: Provide the Basic information for the profile
Name: A profile name

Description: Add a profile description (optional).

Token Expiration Date: The date when the token expires. Intune enforces a maximum of 90 days.

SSID: Identifies the network that the device will connect to.

Hidden Network: Choose whether this is a hidden network. By default, this setting is disabled.

Wi-Fi Type: Select the type of authentication needed for this network. If you select WEP Pre-Shared Key or WPA Pre-Shared Key, also enter the pre-shared key, a pre-shared key is used to authenticate with the network.
Wi-Fi details are required because the RealWear device does not have a button or option that lets it automatically connect to other devices.

Tap NEXT to review the profile and tap on Create to complete the profile creation.
You can see a profile created with a token expiration date and details about enrolled devices

To complete the enrollment process, the QR code can be copied and shared with the end-user once the profile has been created. Once the profile has been created, tap on Token and select Show Token. This will display the token QR code.


You must replace the token and share it again with the user if you made any changes on the profile, replace the token access the Token page and select Replace Token and share the updated token with end-user

Now let’s see the end-user experience
Once the device is powered on, tap on Configuration to scan the QR code shared.

Make sure the QR code is scanned correctly, you might need to change the Zoom Level to scan the QR code correctly

Once the QR code is scanned the device will start setting up to get enrolled in Intune tap on YES to continue

This will take you through the enrollment steps

Tap on Next to continue the enrollment process

Tap Accept & Continue for the next step

Tap Next to continue

Now the device is getting ready for enrollment

Tap on Start for the enrollment process.

Once the enrollment is complete you can tap on DONE to complete the enrollment

You can see the device details from All Devices select the Filter option and select OS type to select AOSP to fetch the AOSP Managed devices.


You can see the device details
Manage devices remotely
The following remote actions are available for Android (AOSP) devices:
Wipe
Delete
Note: After you wipe an Android (AOSP) device, the device remains in a Pending state until it's fully restored to its factory default settings. Then Intune removes it from the device list. When you delete a device, the device is removed from the device list immediately, with no pending status, and the factory reset happens the next time the device checks in.


Comments